To watch the corresponding tutorial video click here Automate Email Notifications with Frontend Admin’ Elementor and WordPress – Video
Enable the site admin or other users to receive email notifications from your site automatically when a form is submitted or content has been edited.
The Email Notification feature is a Frontend Admin PRO feature. To upgrade to PRO and unlock all the next level features, click here.
Getting Started
Open the form for which you would like to automate email notifications. On the left hand side open the Actions tab.
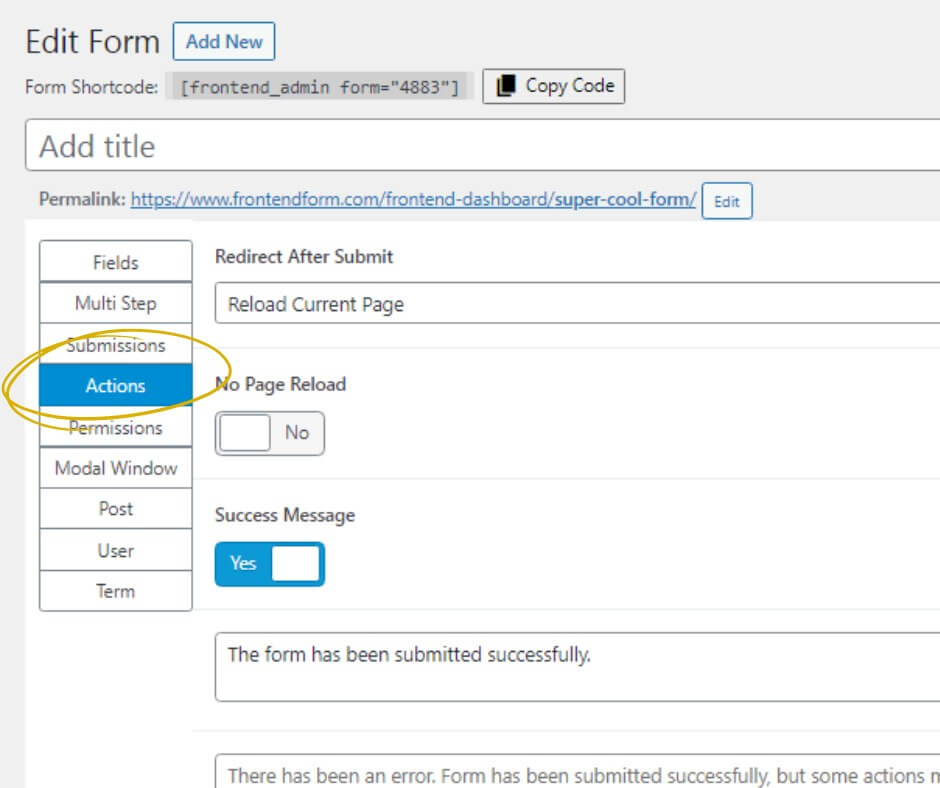
Scroll down to Submit Actions and click Add Action and choose Email.
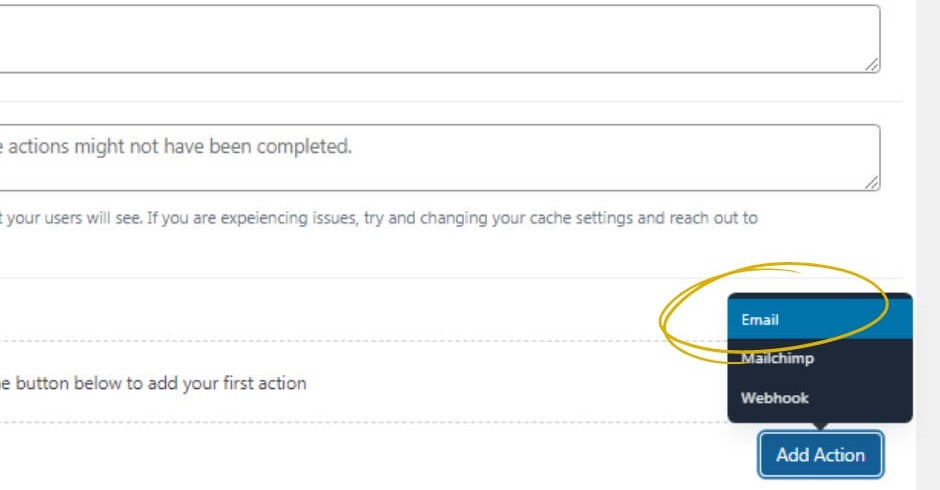
This will open all your email notification options. Here you will configure the email.
Adding Email Addresses
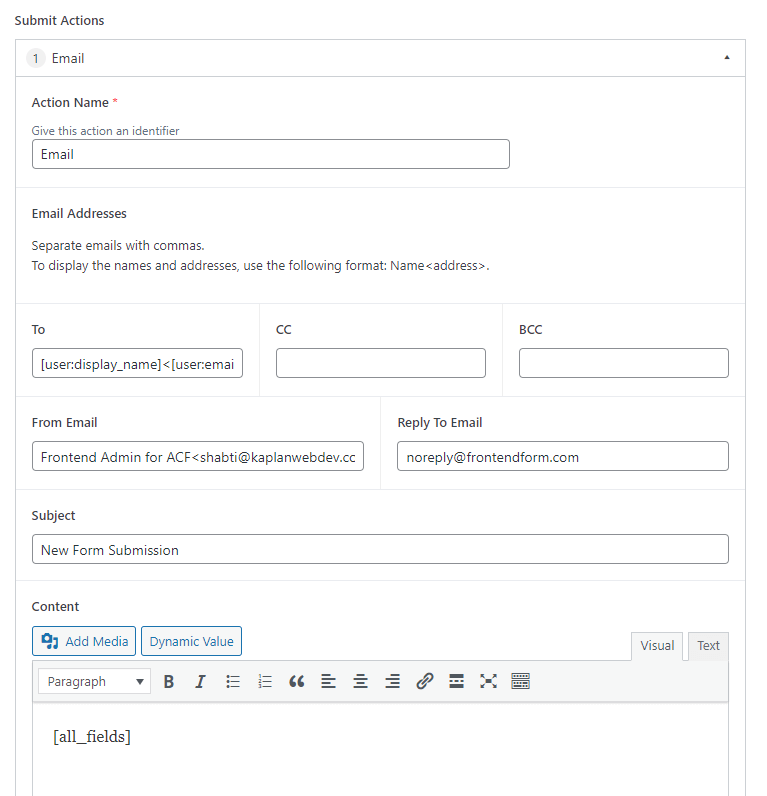
You have a choice when adding email addresses of using static data, by typing email addresses and names, or dynamic data, drawing data such as the user’s name and email from the form submission.
The main recipient’s address should go in the setting labeled To. In the setting labeled CC it is standard to add recipients who you want to see the email but are not expected to take action or respond. BCC is for recipients who you want to receive a copy of the email while keeping their names invisible to other recipients of the email.
From Email is the field in which you can specify who the email appears to be sent from. For example, you may want to use your company name and email here.
Reply to Email is the field in which you can choose where replies are sent. This is the email address that all reply messages will be sent to when you want the reply to go to an email address that is different than the From Email
Adding Email Addresses Using Static Data
Type in the recipient’s information using the following format: Name<email address>
Be sure to separate recipients with commas. If you wish to add email addresses without names, simply type them and separate with commas.
For example, if you want the site admin to be notified when the form is submitted, you will manually type in their name and email address like so: John Jacob<JohnJacob@designerguy.com>.
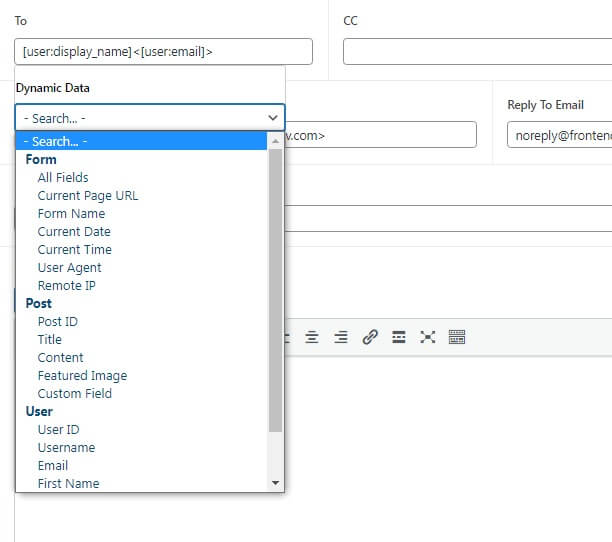
Adding Email Addresses Using Dynamic Data
This dynamic data will draw from the information that a user will enter into your form or directly from the user’s account.
Select the source from which you want to pull the data. Each email address that you wish to add could be drawn from the form itself, from a post of your choice or from the user’s data.
Setting the Subject of the Email
The subject line of your email is a single line of text shown when an email is received communicating what the email is in reference to. Dynamic data is more effectively used in this instance together with static date. For example, you can type into the subject “New Post Added: {post:title}”. Here “New Post Added” is static text that you typed in manually and {post:title} is dynamic data that you chose from the drop down menu.
The Content of the Email
Fill in the content as you see appropriate. The most notable feature of the Dynamic Value button, which allows you to use dynamic data to build automatically customized emails. Pull data from the form, post or user’s account to build the perfect customized email.

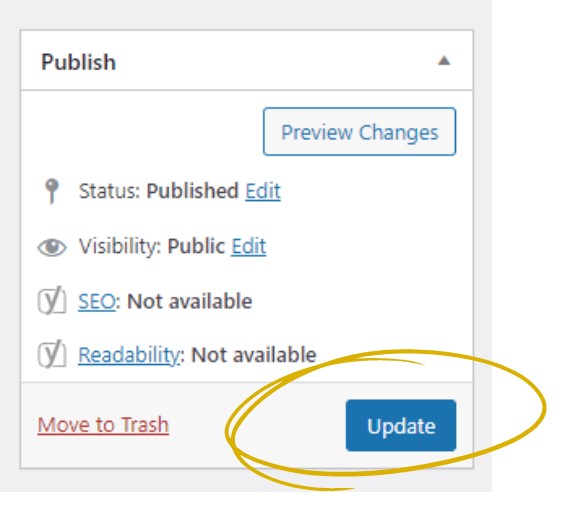
Update to Save
In the top right corner of the page click the Update button to save and activate your email settings.