Required plugins: Advanced Custom Fields (free), and ACF Frontend (free)
This article is also available in video form! You can watch it here.
The ACF Frontend form builder allows you to build dynamic and interactive frontend forms including ACF fields and field groups, and add the form to any WordPress site using any page builder.
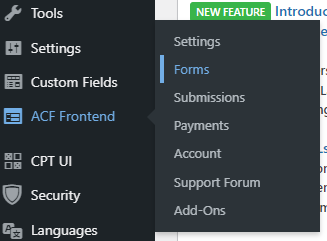
From the WordPress dashboard click on ACF Frontend > Forms and you can start.
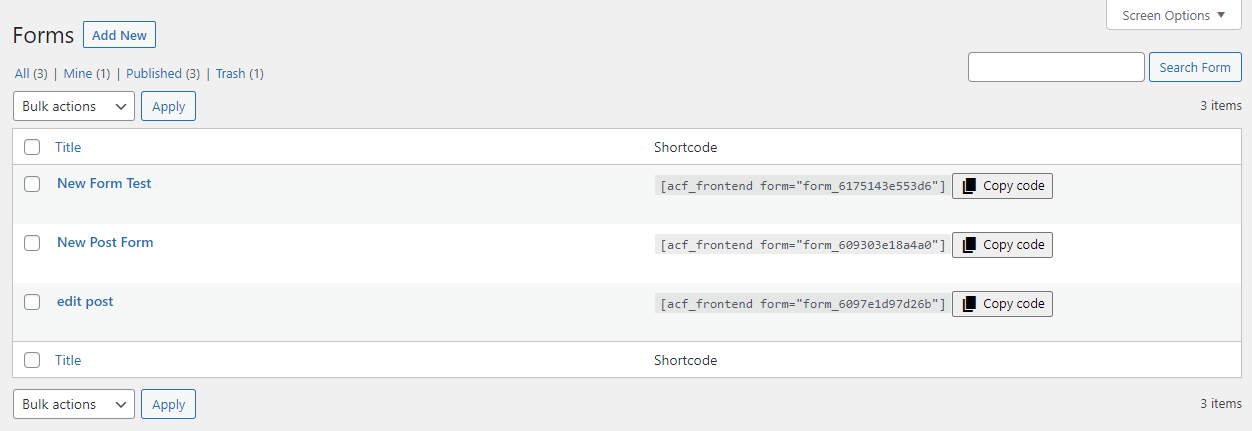
Forms Dashboard
Here you can see a list of all the ACF Frontend forms on your site. To create a new form click Add New at the top of the page.
First you chose a form type. This pre-populates the form with suggested fields, which you can change or rearange these later. Now you can start customizing the form to your specific needs.
Form Options
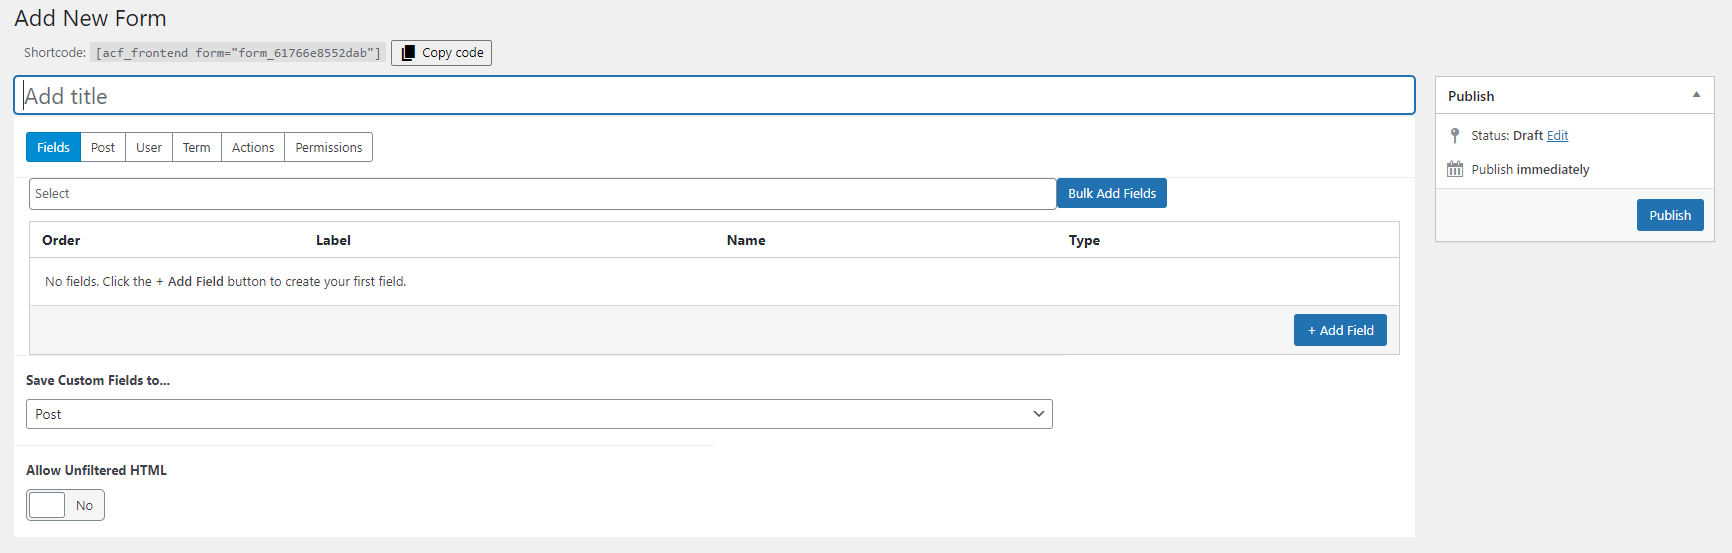
At the top we see the form’s unique shortcode. This shortcode is used to insert the form into your website. Click Copy Code and paste the code into your site, anywhere that supports displaying shortcodes. The shortcode will render into the full form.
Under that is the form’s title. This is not the title shown to the user, but the name of the form within the settings back end. You must set a form name or the form cannot be saved.
Finally, under that we have the tabs to navigate the different options of the form itself. We will go through each tab one by one.
Fields
This is where you create the actual form. At the top you can bulk add fields, and then below that is where the individual field options are configured.
ACF Fields
To add ACF fields, add a new field and choose “ACF Fields” as the field type. This is located under the “Form” section of the field type drop-down.
This will load a new section which will dynamically show all the ACF fields on your site. You can then choose the relevant field, or add an entire field group at once.
Form Fields
Now let’s look at the fields that have been added to the form. Depending on the preset you chose, you will have several fields already added to the form.
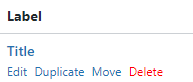
This list defines the order the fields will be displayed in the final form. You can rearrange them by clicking and dragging on the order number. You can also delete a field by mousing over the field name and clicking the “Delete” button.
Add or remove fields as relevant for you. You can mix and match fields for Post data, User data, Term data, ACF fields etc, at will, all within a single form. With the pro version you can add WooCommerce product data as well.
Submit Button
A Submit Button field is added automatically to all new forms. You can edit the button label in its settings.
Field Options
To edit a field’s options click the field. This will open the field settings like in ACF. Many of the settings are common between all the field types, while others are only applicable to certain fields.
Common Field Options
- Field Label – This is a label for the field which appears on the front end version of the form.
- Field Type – This defines the type of field and also affects which other options are shown.
- Instructions – This is a message intended for the users of the form. It is shown under the label but above the actual field.
- Required – Indicates if the field can be left blank. If this is enabled the form cannot be submitted if the field is blank.
- Hidden – This will hide the field. It is useful if the field is being used with a default value.
- Default Value – This will prefill the field with the given data, assuming nothing is input by the user.
- Many fields have additional options, but that is outside the scope of this article and will be covered later.
Under the Field options we have two more options. Save Custom Fields to let you choose where to save the data and Allow Unfiltered HTML is a security setting which filters all text in the forms to prevent malicious code being added. It is turned off by default, but if you need you can turn this setting on.
Post Options
Under the Post tab are several options for the post created by the form.
The first setting defines if the form should create a new post or edit an existing post. More on that below.
There is an additional option called Save Data After, which is for the Submissions feature. This allows you the option to review form submissions before they go live on your site. Leaving it blank will post the data immediately upon form submission, with the post status you defined.
To manually review the submissions choose “After Admin Approval”. The submissions will then be saved in the Submission section and you can approve or delete them yourself.
We have a full article on the Submissions feature coming soon.
New Post
For “New Post” all the fields will be blank and when the user submits the form a new post is created using the data. You can also define the Post Type that the new post will have upon submission.
Edit Post
The form data is taken from an existing post, and prefills all the fields. Then the user can change the data to edit the post.
You need to configure which post to edit, and there are three ways to do this: Current Post, URL Query, or Specific Post.
- Current Post – For this option, the form acts on the url where the form itself is being displayed. You should create a template to show the form on each relevant post. Then when the form is opened it will be editing that post. Otherwise the form will edit the page itself.
- URL Query – Here we use a url to act on. This adds another option called “URL Query Key” where you input the key. This allows you to edit a post based on its URL parameter. We have a full article on this topic coming soon.
- Specific Post – The form will only ever edit the specified post. A new option is shown, called Select Post where you choose from a list of all the posts on your site. The form will prefill that data from that post into the fields and then the user can edit them.
User Options
Similar to the Post options, here too you can choose between “New User” and “Edit User”, and you have the Save Data After setting. This will save the data from any User fields in the form into the Submissions list. For New User there are no additional settings. Edit User adds another setting field to configure, User to Edit.
User to Edit
Here we define which user’s data the form will be editing. There are several options:
- Current User – This is the user logged in and currently viewing the page.
- Current Author – The user which created the page hosting the form.
- Form Post Author – If the form is set to edit a specific post or to work via URL query, then this setting will edit the author of that post which the form is editing.
- URL Query – This allows you to edit a user based on its URL parameter. We have a full article on this topic coming soon.
- Specific User – Choose from a list of all the registered users on your site. The form will then edit the data from that user.
Term Options
Similar to the previous options, you can choose between “New Term” and “Edit Term”, and you have the Save Data After setting. This allows you to save the data from any Term fields in the form into the Submissions list instead of posting them immediately.
For “New Term” you need to define which Taxonomy the term will be added to. This is set here.
For “Edit Term” you need to configure which term to edit. There are three options:
- Current Term – Add the form to a term archive template. Then the form will appear on all term pages and allow you to edit that term.
- URL Query – This allows you to edit a term based on its URL parameter. We have a full article on this topic coming soon.
- Specific Term – Choose from a list of all the existing terms. The form will then edit the data from that term.
Actions
Here we have several options for additional actions to take place outside the form itself.
You can define where the page should redirect to after submitting. By default it will reload the current Page/Post. You can choose to redirect to the live post by selecting Custom URL.
You can also define a custom success message, or choose no success message, whatever suits your needs. There is also the option to set an error message.
With the ACF Frontend Pro, this is where you could define other actions, such as email notifications or web hooks.
Permissions
This is where you define who can access the form. It is very important to do this correctly otherwise your users might not be able to see the form at all!
By default, only administrators can see the form. If you want to allow other users to access it, you need to add them. You can choose Roles under the Select By Role option, or add specific users under the Select By User option.
You can also define a message to be displayed when users without the correct account permissions try to access the form. If you leave the message blank then nothing will be displayed and the form will simply be hidden. If the form is the only thing on the page then the page will simply appear to be blank.
Conclusion
That’s it! Make sure you press Update to save your changes and you are done. Now just copy the shortcode as mentioned above and you can paste it into your site.
You can also use the Gutenberg ACF Frontend block. Simply add the block and then choose the form in the block settings. A full article explaining how to use the Gutenberg block is coming soon.